How to Use a Foot Rasp Safely on Thick Heel Calluses
足部锉护理
Use a foot rasp with light, controlled passes on intact heel calluses. Learn the right technique, frequency, stopping signs, tool care, and when professional help is safer.
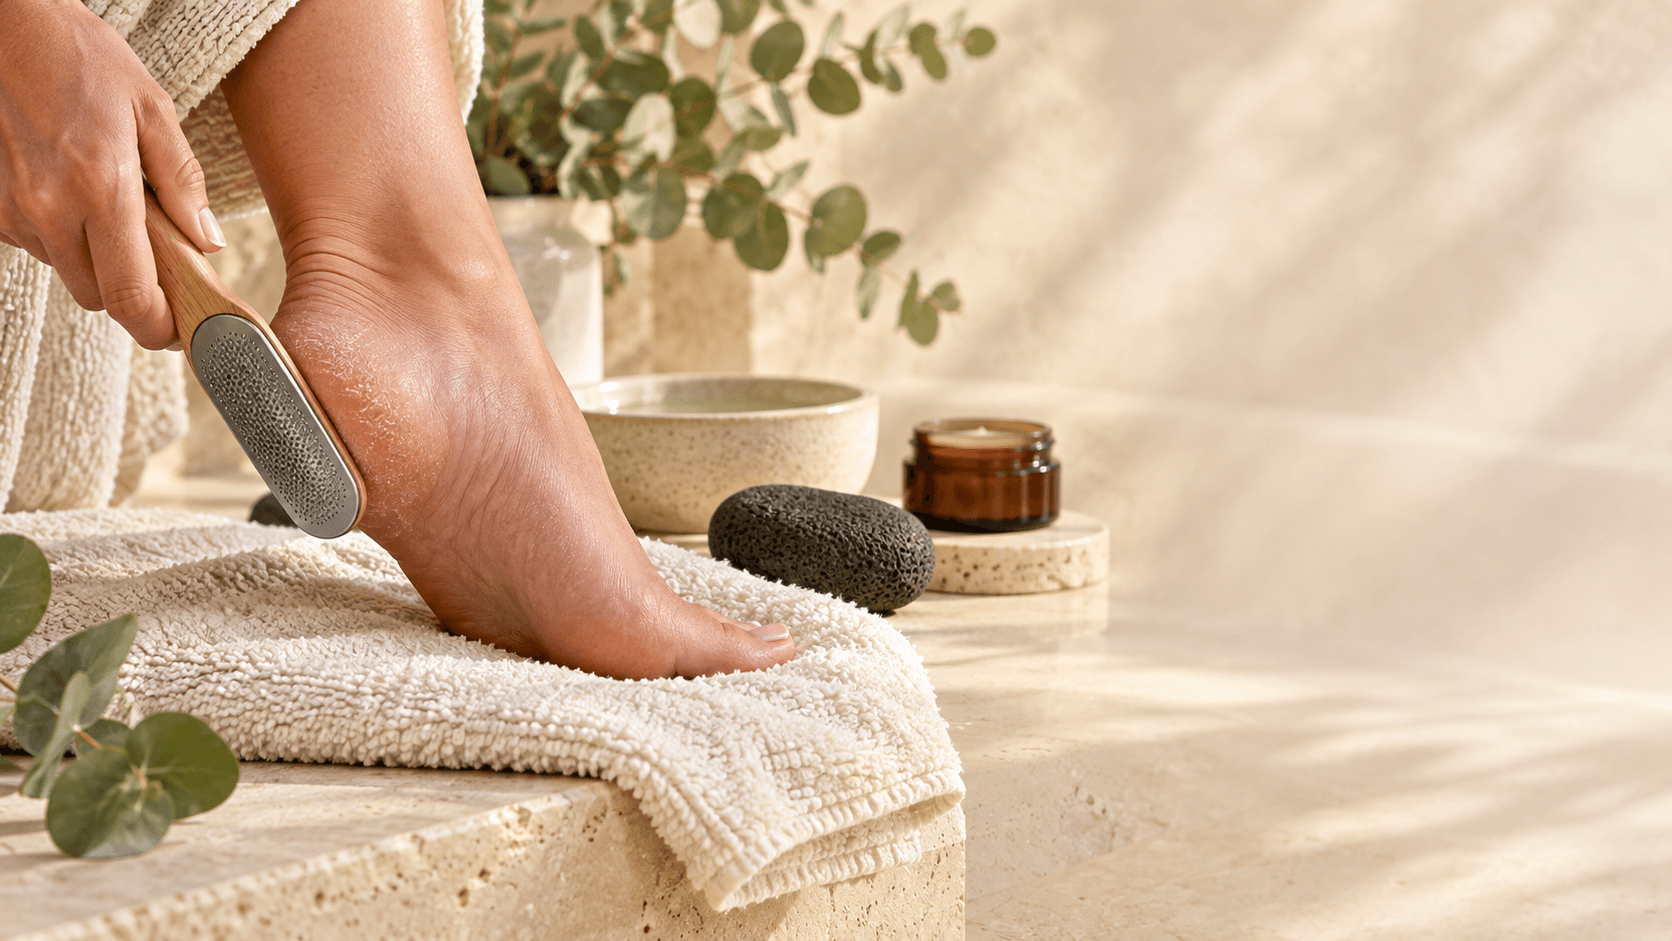
A foot rasp can help reduce a thick heel callus, but the tool works best when you use it slowly and stop well before the skin feels raw. Start with clean, intact skin, hold the rasp securely, and make a few light, controlled passes over the thickest part of the callus. Check the area often instead of trying to make the heel perfectly smooth in one session.
The goal is gradual maintenance. A callus usually forms in response to repeated pressure or friction, so removing more skin is not always the answer. Good technique, sensible frequency, daily moisture, and attention to the cause of the pressure matter just as much as the rasp itself.
Before You Use a Foot Rasp
First, make sure the rough area is actually suitable for home exfoliation. A broad patch of thick, dry skin on the heel may be a callus. A smaller spot with a firm center, a painful area, a wart, or a damaged heel may need a different approach. If you are unsure, read Callus or Corn? The Quick Check Before You Treat It before filing.
Do not rasp skin that is:
- open, cut, bleeding, blistered, or deeply cracked
- red, warm, swollen, draining, or unusually painful
- sunburned, irritated, or recently injured
- numb or difficult for you to feel accurately
If you have diabetes, reduced sensation, circulation problems, a history of foot ulcers, slow-healing wounds, or another condition that makes foot injuries harder to detect or heal, ask a qualified healthcare professional whether abrasive foot care is appropriate for you.
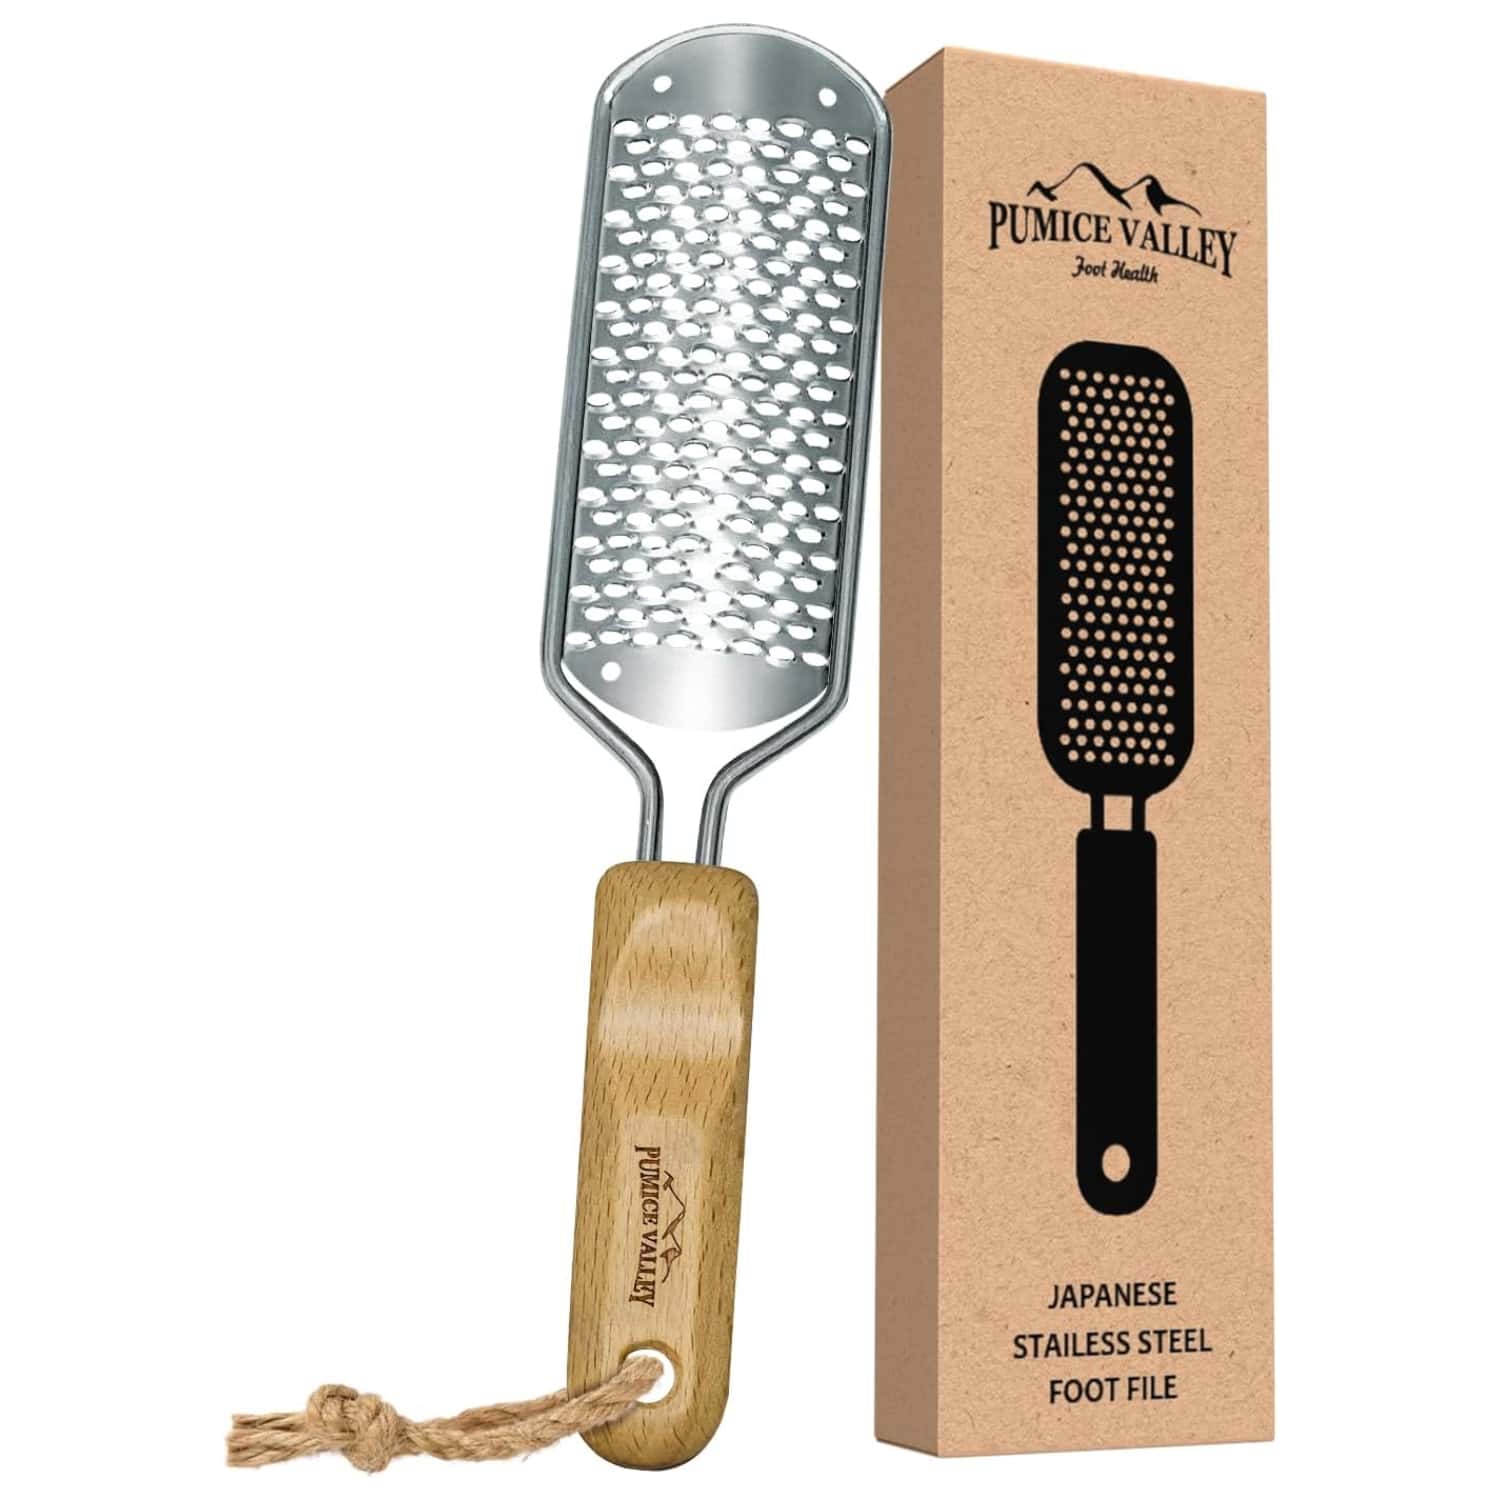
Check the tool as well. The rasping surface should sit firmly in the handle and should not have bent edges, rust, cracks, or loose parts. A damaged rasp can be difficult to control and should be replaced rather than repaired at home.
Should You Use a Foot Rasp Wet or Dry?
Follow the instructions supplied with your particular rasp. Some designs are intended for softened, damp skin; others are designed for dry use. Do not assume that every metal rasp should be used in the same way.
If the manufacturer recommends wet use, soften the heel with a short warm shower, bath, or soak, then pat away excess water so the foot is not slippery. Avoid a long soak that leaves the skin waterlogged and harder to assess.
If the manufacturer recommends dry use, begin with a clean, completely dry foot. Dry skin can make removed buildup easier to see, but it does not justify extra pressure. In either method, pause often and check the skin under good light.
How to Use a Foot Rasp Safely
1. Sit somewhere stable
Do not balance on one foot in a wet shower. Sit where you can comfortably reach the heel, support the foot, and keep the tool under control. Place a towel underneath if you are working on dry skin.
2. Start with the thickest intact area
Position the rasp on the broad, hardened part of the heel callus. Avoid normal soft skin, the arch, the tops of the toes, and any split or tender area. If a heel crack is present, do not run the rasp across the fissure.
For more help distinguishing callus care from cracked-heel care, see Best Pumice Stone for Cracked Heels vs Calluses.
3. Use light, controlled passes
Hold the handle securely and move the rasp across a small area with light pressure. Let the textured surface do the work. Avoid fast sawing, forceful scraping, or repeatedly working one point.
After two or three passes, brush or rinse away the loose skin and inspect the heel. This pause is important: a rasp can remove buildup faster than the change feels in the moment.
4. Keep the result modest
Stop when the hard edge feels slightly smoother—not when every trace of thick skin is gone. Some callus protects a pressure-bearing area. Trying to reach perfectly soft skin in one session increases the chance of soreness and makes it easier to over-file.
If the rasp is not making quick progress, do not press harder. Dense or long-standing buildup may need several spaced sessions or an assessment by a podiatrist or other qualified professional.
5. Rinse, dry, and moisturize
When you finish, rinse away loose debris if appropriate, pat the foot dry, and apply a simple foot moisturizer to intact skin. The Pumice Valley Urea + Shea Foot Cream is one option for a daily moisture step after exfoliation.
Do not apply a product that stings or irritates the area. Moisturizing should support a gradual routine; it is not a signal to rasp again immediately.
How Often Should You Use a Foot Rasp?
A foot rasp is not a daily tool. For many people, starting no more than once a week—and often less frequently—is more sensible than filing whenever the heel feels rough. Wait until the skin feels completely comfortable and intact before another session.
Your skin response matters more than a fixed schedule. Space sessions farther apart if the heel feels tender, looks pink, stings when moisturizer is applied, or feels more sensitive in shoes. If the callus returns quickly, look at footwear, friction, standing time, and pressure patterns instead of simply increasing the filing frequency.
For a broader guide to timing, read How Often Should You Exfoliate Your Feet?.
Signs You Should Stop Filing
Stop immediately if you notice:
- pain, stinging, burning, or a hot sensation
- pink, red, shiny, or unusually soft skin beneath the callus
- bleeding, splitting, or fluid
- sudden sensitivity that was not present before
- difficulty judging how much skin has been removed
Do not keep going because one section still looks uneven. Rinse the area, leave it alone, and allow it to settle. Persistent discomfort or broken skin deserves appropriate professional advice.
How to Clean and Store a Foot Rasp
Clean the rasp after every use according to its manufacturer’s instructions. Remove trapped skin debris, wash or rinse the permitted parts, and dry the tool completely before storing it. Pay particular attention to the textured surface and the point where it joins the handle.
Store the rasp in a dry, ventilated place rather than leaving it on a wet shower floor or sealed while damp. Do not share a foot rasp with another person. Replace it if the surface becomes damaged, rusted, loose, difficult to clean, or noticeably harder to control.
The Pumice Valley Foot Rasp Callus Remover is designed for targeted smoothing of rough heels and thick calluses. Review its product instructions before use, particularly for wet-versus-dry technique and cleaning.
When Professional Foot Care Is the Better Choice
A podiatrist or other qualified healthcare professional can assess a callus that is painful, recurrent, unusually thick, or difficult to identify. Professional care is also appropriate when the skin is open or bleeding; when you notice warmth, spreading redness, swelling, drainage, or worsening pain; or when home care repeatedly leaves the heel sore.
Seek advice rather than filing if you suspect a corn, wart, foreign object, infection, or another cause of the skin change. A professional can also help investigate why one area keeps taking extra pressure and suggest footwear, cushioning, or other appropriate changes.
For choosing among maintenance tools, use the existing glass foot file, pumice stone, and foot rasp comparison. Once you have chosen a rasp, however, the safest routine is simple: use light passes, check often, stop early, moisturize, and give the skin time between sessions.
FAQ
Should you use a foot rasp on wet or dry feet?^
Follow the instructions for your specific rasp because designs vary. If it is intended for wet use, work on briefly softened skin and keep the foot stable. If it is intended for dry use, begin with clean, dry skin. In either case, use light pressure and check the heel frequently.
How often can you use a foot rasp on calluses?^
Do not use a foot rasp every day. A cautious starting point is no more than once a week, and many people need longer between sessions. Wait until the skin feels comfortable and intact, and increase the interval if you notice tenderness, pinkness, or stinging.
How do you know when to stop using a foot rasp?^
Stop when the thick edge feels modestly smoother or at the first sign of pain, stinging, heat, pinkness, unusual softness, splitting, or bleeding. Do not try to remove the entire callus in one session.
How should you clean a foot rasp after use?^
Follow the manufacturer’s cleaning instructions, remove trapped debris, wash or rinse the permitted parts, and dry the rasp completely before storing it in a ventilated place. Do not share the tool, and replace it if it becomes rusted, loose, damaged, or difficult to clean.
When should a heel callus be treated by a professional?^
Seek professional care for a painful, bleeding, deeply cracked, recurrent, or unusually thick callus, or for warmth, swelling, drainage, spreading redness, or worsening pain. Ask a qualified professional before abrasive foot care if you have diabetes, reduced sensation, circulation problems, slow healing, or a history of foot ulcers.